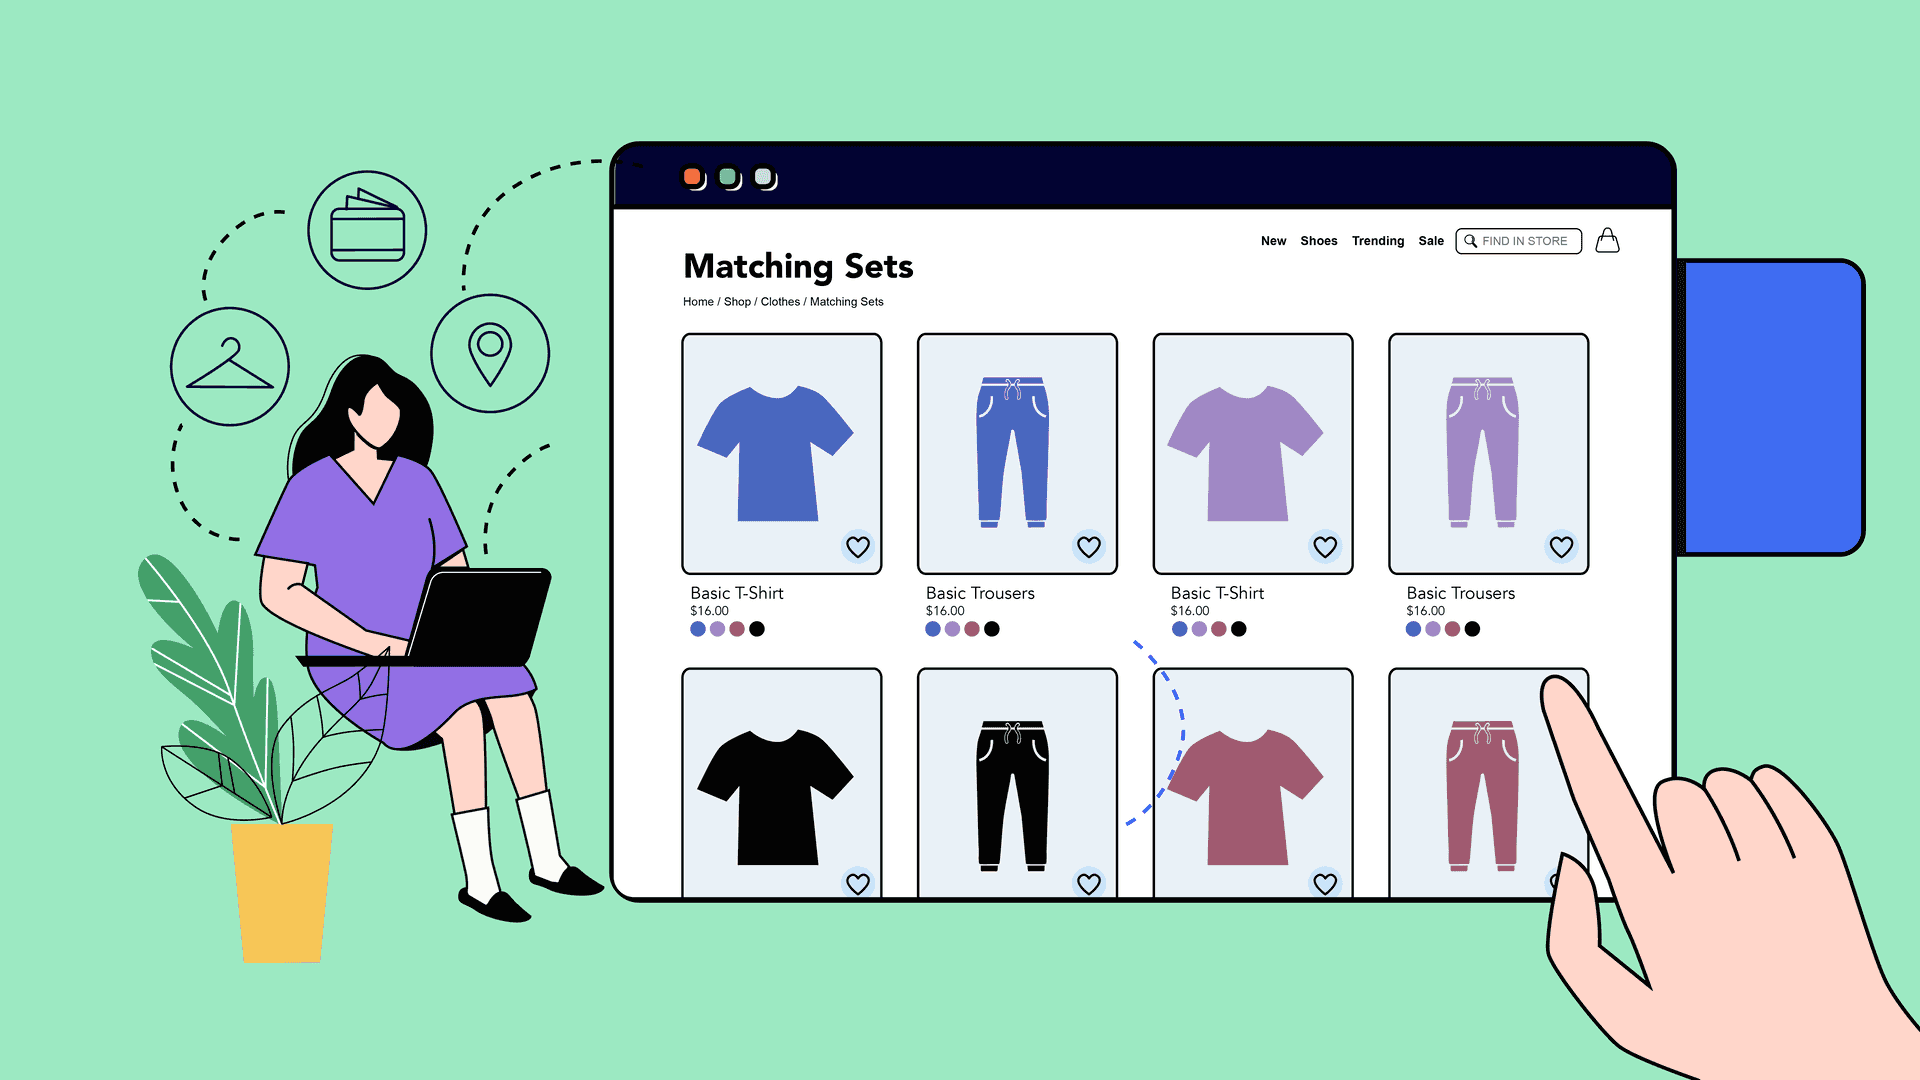
Think back to the last time you shopped online. You likely clicked around browsing for new or interesting products. You may have clicked on a product category from a store menu or a collection like “Bestsellers” or “On sale”. And if you didn’t find what you wanted? You left.
These product groupings are called collections on Shopify. We’ll walk you through the basics of Shopify collections, best practices for organizing products, and how to create and bulk edit a collection in Shopify.
What are Shopify collections?
Shopify collections are a way for stores to group products together on a single page for browsing. It’s the platform’s main method of store navigation. Here is everything you need to know about creating and optimizing collections in Shopify.
Shopify collection FAQs
- In order to use Shopify collections, you need at least a Basic Shopify plan.
- You can’t add a variant to a collection— only a whole product.
- You can add up to 5,000 smart collections and 100,000 manual collections per store.
- The way collections look is specific to your theme, so you may be limited in how you can edit it without a developer.

Benefits of Shopify collections
You might be wondering why you need collections when you already have product categories. Here’s why it’s important to add collections to your Shopify store.
1. Improves store navigation
76% of ecommerce sites have mediocre to poor navigation, Baymard Institute found. Collections reduce product overwhelm, enhance the shopping experience, and reduce bounce rates when customers find what they want.
2. Boosts SEO
Collections can bring more online shoppers to your site by targeting specific keywords on collection pages, increasing your visibility in search engine results.
3. Facilitates cross-selling and up-selling
With collections, you can promote products you really want to move. You can display related products together, seasonal items, or slow sellers, encouraging customers to buy complementary items or explore higher-priced options.
4. Improves conversions
When customers find what they’re looking for, they’re more likely to buy. An Invesp study found that stores that improved their navigation grew conversions by 18.5%.
How to create collections in Shopify
Follow these step-by-step instructions to create a new Shopify collection.
- From the Shopify Admin, go to ‘Products’, then ‘Collections’.
- Click ‘Create collection’.
- Enter a title and description for the collection.
- In the collection type section, choose either smart (automated based on conditions) or manual (you select the products).
- If you choose smart, set the conditions for the products to be included in the collection.
- If you choose manual, Shopify will prompt you to select products to add.
- Optionally, you can add an image for the collection and set an order for how products will display.
- Click ‘Save’ or ‘Schedule publishing’ to set a time for a future publish time.
- Finally, add a link to the collection in your store navigation so customers can find it.
To save time creating collections, consider a smart (previously called automated) collection or bulk editing your products. We’ve included instructions further down on how to bulk edit products into collections.

Smart (automated) vs. manual collections
A smart collection auto-populates products in collections based on conditions. For example, you could tell Shopify to place all products with the tag “summer” in a summer collection. You could also set conditions for price, title, category, vendor, metafield values, and more. In Shopify, you can create up to 5,000 smart collections and 60 conditions. You can also combine two conditions for a smart condition, like products with the category “clothing” that is under $50.
A manual collection is one you create yourself by individually choosing products. While manual collections take longer to create, they can give a personalized touch that resonates with particular customer segments. For instance, you could partner with an influencer to curate a collection of their favorite products.


Best practices for organizing and optimizing collections in Shopify
Collections are one of the best ways to organize your stores and help customers find what they want. Use these five best practices to organize your collections and optimize them for search.
1. Optimize your collection title for SEO
Each Shopify collection has a “search engine listing” section which you can edit. Run a keyword research through Google Ads or other tools to understand which search terms people may use to look for your products. Include the keyword in your collection title, description, and URL slug to optimize it for search.
Keep your titles short: experts recommend just one to three words whenever possible.
Shopify collection examples
Toys & Games
Outdoor Living
Bestsellers
Holiday
Sale
Stocking Stuffers
Gifts Under $50
Unique Gift Ideas
Oversized Sweaters
Fall Colors
2. Add a header image
Beyond your description, a collection image can tie a collection together and draw a shopper’s attention. It’s okay if you can’t do a dedicated photo shoot— use a graphics editing platform like Canva to pull products in the collection together.
For example, take a look at Sanrio’s cute holiday shop header below.

3. Group products by customer segment
If you have a large catalog, think about who is shopping or who the customer is shopping for. For instance, Men, Women, Kids, and Baby are common collection types. Around the holidays, add collections like Gifts for Dads or Gifts for Outdoor Lovers.
4. Create seasonal or trending collections
Let’s say that you carry holiday items or you want to curate trending collections. A collection is the perfect way to highlight those. Perhaps you want to curate tailgating supplies or apparel around the start of football season, or romantic gifts around Valentine’s Day.
For example, Vera Bradley’s Wicked collection builds excitement around the movie release.

Create collection menus for navigation
Once you have a collection, you don’t want to hide it. Collection menus are excellent for both store navigation and SEO. You can create a main menu navigation and a footer navigation so customers can see and click through to collections at a glance.
While sub-collections aren’t a feature in Shopify, you can effectively create them by nesting collections in your navigation. For instance, look at how apparel brand Windsor nests dress types and collections under the menu item “Dresses”.

How to bulk edit collections in Shopify
In the Shopify Admin, you can bulk edit some collection features. Go to ‘Products’, then ‘Collections’, and select any collections you want to edit. Click ‘Bulk edit’ in the top horizontal menu and you can apply certain bulk actions to your collections, like setting a sort order or sales channels.
Templates are another great way to streamline creating new collections. Build a collection template with the layout that you want, then you can duplicate it as a starting point to create new ones.
Once your collections are set up, you can also use bulk editing to significantly streamline adding or removing products from it. While Shopify’s native bulk editor can do this, it has some frustrating limitations.
The fastest, safest way to bulk edit products in collections is with Ablestar Bulk Product Editor. The Shopify app lets you do an advanced filter for products, edit multiple product fields at once, and preview and schedule edits. Here are the three different ways to bulk edit collections using the app.
1. Bulk edit collections in the app

In the app available in the Shopify Admin, search for products you wish to add to a manual collection. You can search by name, brand, price, or any number of fields. Next, select ‘Manual collection’ as the field to edit and ‘Add to collection’ or ‘Remove from collection’ for how to edit.
Then, select the collections you wish to edit and you can either run the edit now or schedule it for a future time.
2. Bulk edit collections with a spreadsheet
With Ablestar Bulk Product Editor, you can also edit products in manual collections with a spreadsheet. Simply upload a spreadsheet with the product handle and columns for ‘Add collection’ or ‘Remove’ with collections listed under each. Confirm the instructions in the upload process, run the edit, and your collections will be quickly updated.

3. Edit product fields for smart collections
A third way to edit products in collections is by bulk editing the product information that triggers a condition in smart collections. Here are a few examples:
- Edit price for collections like “Gifts under $25”
- Editing tags that meet a condition for a smart collection
- Editing vendors that meet a condition for a smart collection
By managing collections this way, you can streamline your product management and eliminate the need to edit products twice, once for the product information and another to place it in a collection.
How to create a sale collection in Shopify
As a final tip, here’s how to create a sales collection on Shopify. Many customers go searching for deals online— so make it easy for them to find.
In Shopify, a compare-at price is how you show that an item is on sale. Therefore, you can create a smart collection that shows only products with a compare-at price. Here’s how.
- From the Shopify Admin, go to ‘Products’, then ‘Collections’.
- Click ‘Create collection’.
- Enter a title and description for the sales collection.
- For collection type, choose ‘Smart’.
- In the conditions section, add the condition: ‘Select Compare-at price’, then choose ‘is not empty’.
- Click Save to create your collection.
- Add a link to your collection in your online store navigation so that customers can easily find it.
Once this is set up, you can bulk edit your store prices in minutes to automatically add or remove items from your sales collection!
Improve navigation and sales with collections
Shopify collections are more than just a way to organize your store—they’re a strategic tool to enhance customer experience, improve SEO, and boost sales.
You can organize your products and curate collections faster with Ablestar Bulk Product Editor for product management. Get started today!


